Adding Mermaid Diagrams to Rehype in Astro (With rehype-mermaid-cli)
Table of Contents
I just recently updated how I render UML diagrams in my blog. Originally, I used rehype-mermaid (original blog post), which works by running Mermaid inside a playwright instance at build time. That generally was working fine for me, but I noticed that old diagrams started to render incorrectly, and I was facing issues in particular with the sequenceDiagram type and it started throwing this error Error: svg element not in render tree.
So, I decided to switch over to mermaid-cli in my build time. This approach still uses puppeteer but has been more reliable for me so far, although it’s still early days of the approach.
Here’s an example graph with just text
But I also wanted to support images, which I did cover in the previous blog post but will re-cover here as well.
Why Use mermaid-cli?
Benefits of mermaid-cli:
- Official CLI maintained by the Mermaid team (so less chance of regressions when Mermaid itself updates or dependencies).
- More out of the box control over the output (themes, background color, SVG IDs, etc.).
- This fixed an issue I was facing when using rehype-mermaid with inlining svgs
- More predictable builds (hopefully 🤞)
Drawbacks:
- Build-time only: mermaid-cli is a CLI only tool, so there’s no option to do live client-side rendering in the browser.
- Slower than rehype-mermaid, which makes
npm run deva little painful if you’re editing diagrams often.- We cache the results, so if you’re not actively modifying your mermaid diagrams the speed is unchanged
For me these tradeoffs are worth it, if they’re not acceptable for your use case try the approach in my blog post on using rehype-mermaid.
Installing rehype-mermaid-cli
Initially in this article I was just going to dump the code on you, but I decided to make it a little bit easier to follow and created my very first npm package of rehype-mermaid-cli.
npm install rehype-mermaid-cliSetting Up rehype-mermaid-cli in Astro
You’ll need to add this to your rehype plugins in your astro config file.
import { rehypeMermaidCLI } from "rehype-mermaid-cli";
export default defineConfig({
// ...
markdown: {
rehypePlugins: [..., rehypeMermaidCLI ,...]
}
// ...
})That’s all you need to do! In your markdown files, you should now be able to render a markdown file like this
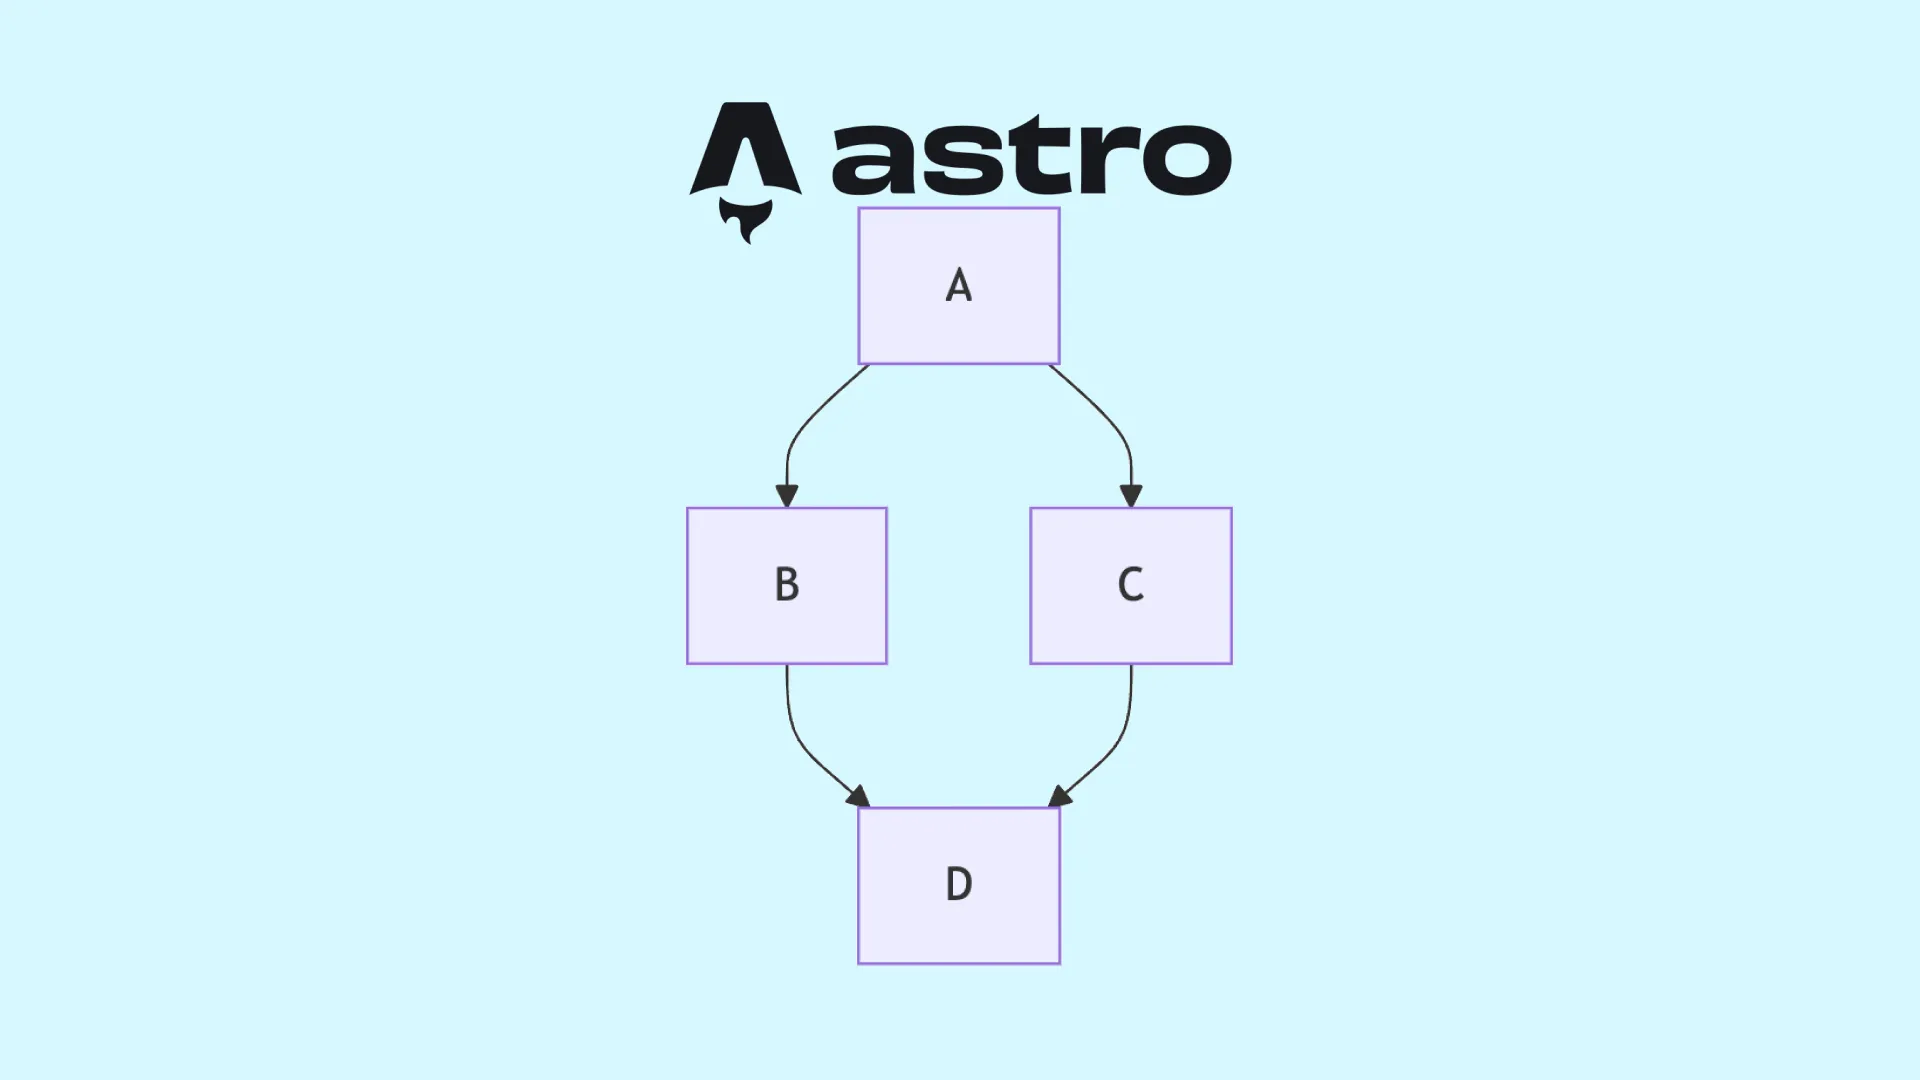
```mermaid
graph TD;
    A-->B;
    A-->C;
    B-->D;
    C-->D;
```
If you run into rendering issues, try installingmermaid-cli globally with npm install -g @mermaid-js/mermaid-cli
Adding Custom Classes
On my blog I like to add an mx-auto to my SVGs
import { rehypeMermaidCLI } from "rehype-mermaid-cli";
export default defineConfig({
// ...
markdown: {
rehypePlugins: [..., [rehypeMermaidCLI, {
svgClassNames: ["mx-auto"]
}] ,...]
}
// ...
})Light vs Dark Toggle
By default this will render and inline the default theme on mermaid. But what if we also want to render a dark mode svg to use if the site is set to toggled to dark mode?
import { rehypeMermaidCLI } from "rehype-mermaid-cli";
export default defineConfig({
// ...
markdown: {
rehypePlugins: [..., [rehypeMermaidCLI, {
// renders out each theme as a separate inlined-svg
renderThemes: ['default', 'dark']
}] ,...]
}
// ...
})The plugin adds class names with the themes like mermaid mermaid-default and mermaid mermaid-dark, which then you can manage in however you’re currently managing your theme toggler either as css or a script that might look something like this.
function updateMermaidTheme() {
const dataTheme =
document.documentElement.getAttribute("data-theme") || "light";
document.querySelectorAll(".mermaid-default").forEach((el) => {
el.style.display = dataTheme === "dark" ? "none" : "block";
});
document.querySelectorAll(".mermaid-dark").forEach((el) => {
el.style.display = dataTheme === "dark" ? "block" : "none";
});
}
// Listen for theme changes
document.addEventListener("themechange", updateMermaidTheme);
}Adding SVG Support
Ok so here’s where most of the hacky solutions come in for generating the diagrams. If you have better solutions please let me know.
Notes:
- Hacky; doesn’t cover all SVG edge cases
- Only works with SVGs
- I didn’t want to just link to a public host since I wanted to develop it locally and test it
I wanted to be able to support images like the following.
The code for this is this, this only supports svgs and the icons folder is at the astro public/icons folder.
```mermaid
 flowchart LR
     A[<img src='/icons/dead-bird.svg' width='50' height='50' /> ]
     A --> B[<img src='/icons/worm.svg' width='50' height='50' /> ]
```
Unfortunately I solved this with yet another rehype extension, but this time it’s a preprocessor that will read the svg file and inline the contents of it into the mermaid code.
It’s pretty messy but here’s a link to the function on github
It could be worse, but it’s admittedly a bit sloppy. Then add it before our mermaid-cli rehype plugin
import { rehypeMermaidCLI } from "rehype-mermaid-cli";
export default defineConfig({
// ...
markdown: {
rehypePlugins: [..., rehypeInlineSvg, [rehypeMermaidCLI, {
// renders out each theme as a separate inlined-svg
renderThemes: ['default', 'dark']
}] ,...]
}
// ...
})Updating Deployment
The mermaid-cli tool uses puppeteer, you can find other articles on how to get this to properly run on your CI tool but you’ll likely at least need to specify headless=True and —no-sandbox.
import { rehypeMermaidCLI } from "rehype-mermaid-cli";
export default defineConfig({
// ...
markdown: {
rehypePlugins: [..., rehypeInlineSvg, [rehypeMermaidCLI, {
puppeteerConfig: {
headless: 1,
args: ["--no-sandbox"]
}
}] ,...]
}
// ...
})Hope this helps! If you want more options / features or run into bugs on the rehype-mermaid-cli tool feel free to create an issue on the GitHub repo or submit a PR.
Back to blog