I recently reworked my portfolio website to focus heavier on blogs, and this included adding a search bar to search across across my site. In this blog post I’ll walk you through how you can add your own!
If you’re just interested in the code here it is as a template website.
Adding Search
For search, I wanted a locally powered search engine so I don’t have to pay or rely on third party APIs as my site only has a handful of pages and is small enough to handle in-browser search fast.
To make our lives easier we’ll be using astro-pagefind which uses the pagefind as a search engine.
Installing
First install the package into your astro project.
npm i astro-pagefindAfter that’s installed we have to add the integration into our Astro config.
import pagefind from "astro-pagefind"
export default defineConfig({
integrations: [pagefind()], // add to your existing integrations
});Next, let’s make a basic search page.
---
import SearchComponent from "astro-pagefind/components/Search";
---
<SearchComponent id="search" className="pagefind-ui" uiOptions={{ showImages: false }} />This is all you need for the most basic search functionality.
Next, we need to generate the search index which pagefind will use to efficiently query your site. You can do this manually but I modified my package.json to do this automatically for me.
"scripts": {
"dev": "astro build && npm run postbuild && astro dev",
"postbuild": "pagefind --site dist/",
}You might get some typescript warnings since the pagefind might have some unused variables
Now if you go to your search page at http://localhost:4321/search you should be able to use the search bar.
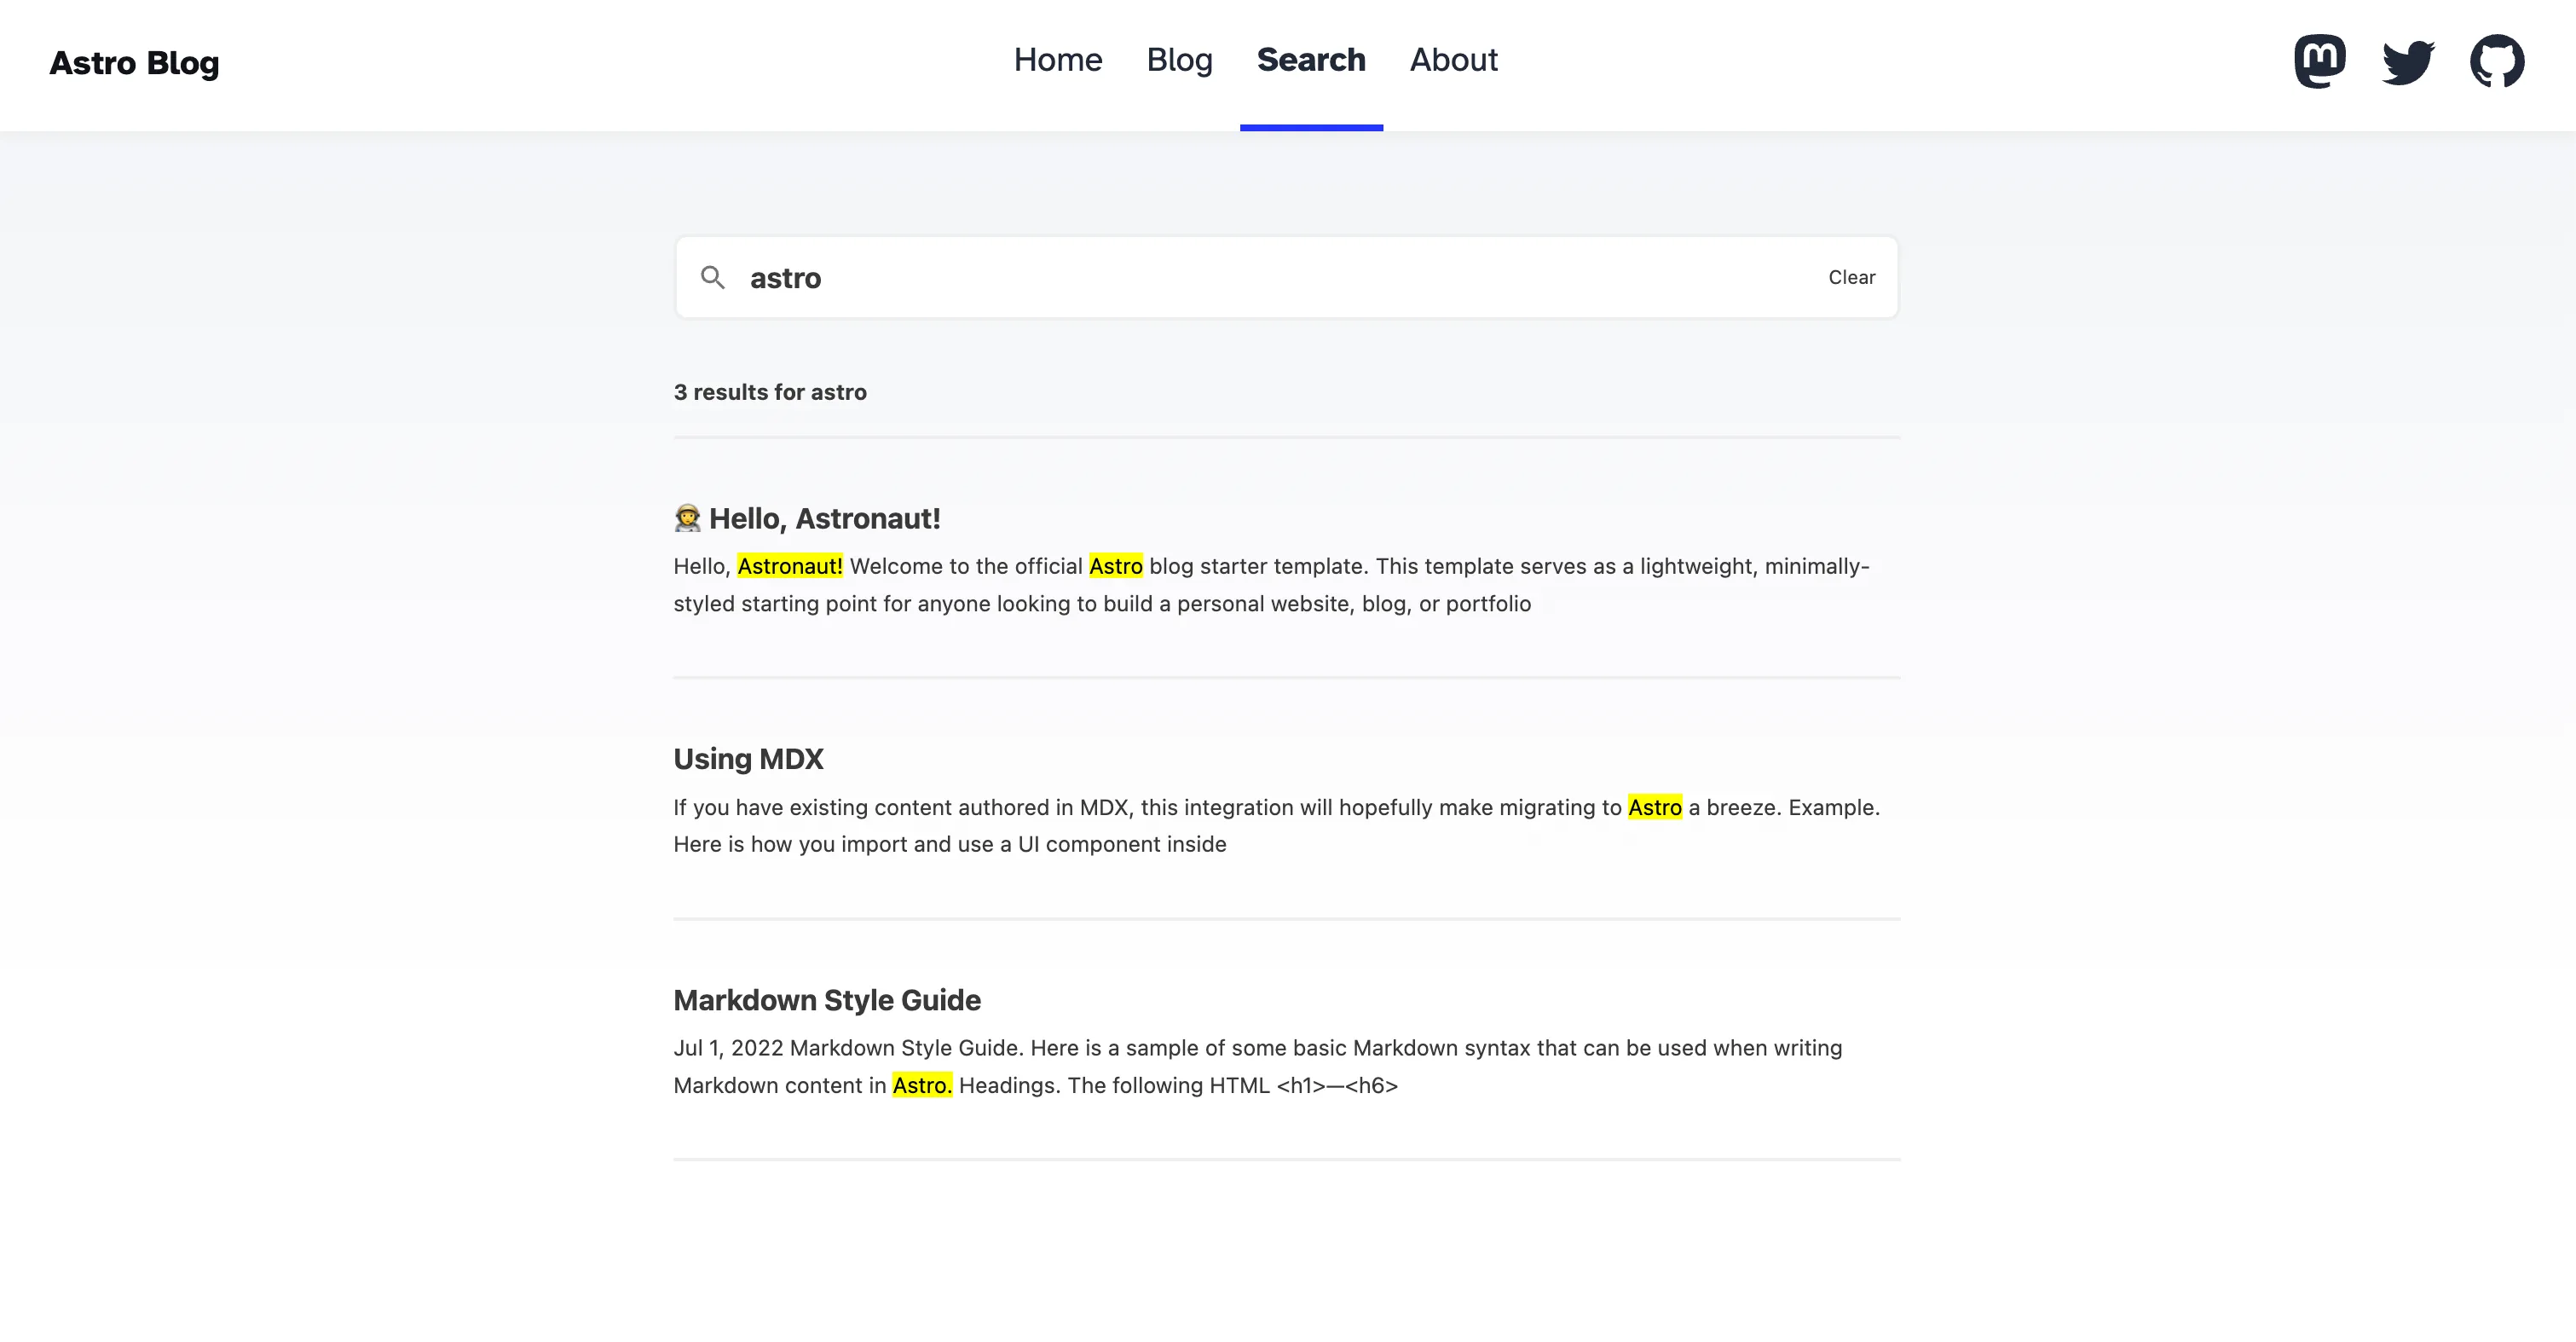
I wanted to change the component’s functionality a little bit, and by following this blog I added: the search query as a url parameter, and focusing the input when the page loads.
Next, let’s make a new astro component slightly modified from the component that we’re already using in our code that implements these features. The changed new code is highlighted.
---
import "@pagefind/default-ui/css/ui.css";
export interface Props {
readonly id?: string;
readonly className?: string;
readonly query?: string;
readonly uiOptions?: Record<string, any>;
}
const { id, className, query, uiOptions = {} } = Astro.props;
const bundlePath = `${import.meta.env.BASE_URL}pagefind/`;
---
<div
id={id}
class:list={[className, "pagefind-init"]}
data-pagefind-ui
data-bundle-path={bundlePath}
data-query={query}
data-ui-options={JSON.stringify(uiOptions)}
>
</div>
<script>
// @ts-ignore
import { PagefindUI } from "@pagefind/default-ui";
function initPageFind() {
const allSelector = "[data-pagefind-ui]";
for (const el of document.querySelectorAll(
`${allSelector}.pagefind-init`
)) {
const elSelector = [
...(el.id ? [`#${el.id}`] : []),
...[...el.classList.values()].map((c) => `.${c}`),
allSelector,
].join("");
const bundlePath = el.getAttribute("data-bundle-path");
const opts = JSON.parse(el.getAttribute("data-ui-options") ?? "{}");
new PagefindUI({
...opts,
element: elSelector,
bundlePath,
});
el.classList.remove("pagefind-init");
var query = el.getAttribute("data-query");
// Check if the current URL has any query params
const url = new URL(window.location.href);
const params = new URLSearchParams(url.search);
if (params.has("q")) {
query = params.get("q");
}
const input = el.querySelector<HTMLInputElement>(`input[type="text"]`);
input?.focus();
if (input) {
input.value = query;
input.dispatchEvent(new Event("input", { bubbles: true }));
// Add Listener to update the URL when the input changes
input.addEventListener("input", (e) => {
const input = e.target as HTMLInputElement;
const url = new URL(window.location.href);
const params = new URLSearchParams(url.search);
params.set("q", input.value);
window.history.replaceState({}, "", `${url.pathname}?${params}`);
});
}
}
}
document.addEventListener("astro:page-load", initPageFind);
if (document.readyState === "loading") {
document.addEventListener("DOMContentLoaded", initPageFind);
} else {
initPageFind();
}
</script>Then to use our new custom search component in pages/search.astro, we just import our custom component instead of the pre-defined one.
---
import SearchComponent from "../components/shared/AstroSearch.astro";
---
<SearchComponent id="search" className="pagefind-ui" uiOptions={{ showImages: false }} />Configuring Search Information
All of the search information is controlled by pagefind, the documentation on configuring the search information is good, but I’ll briefly cover what I found useful.
After making changes to howpagefind finds data about your site, you’ll need to rebuild the index either manually with the pagefind --site dist/ command, or re-run the modified npm run dev from earlier.
Ignoring Pages
By default, it will search all pages. For me, this led to duplicate information matches as it would not only find the data for each post. It would also capture the same information on the page listing all of my blogs.
To get around this on my page listing the blogs I added data-pagefind-ignore as an html attribute. Like this
<main data-pagefind-ignore>
{/* My list of all of my blogs */}
</main>This prevents pagefind from indexing data within that tag.
Showing Images
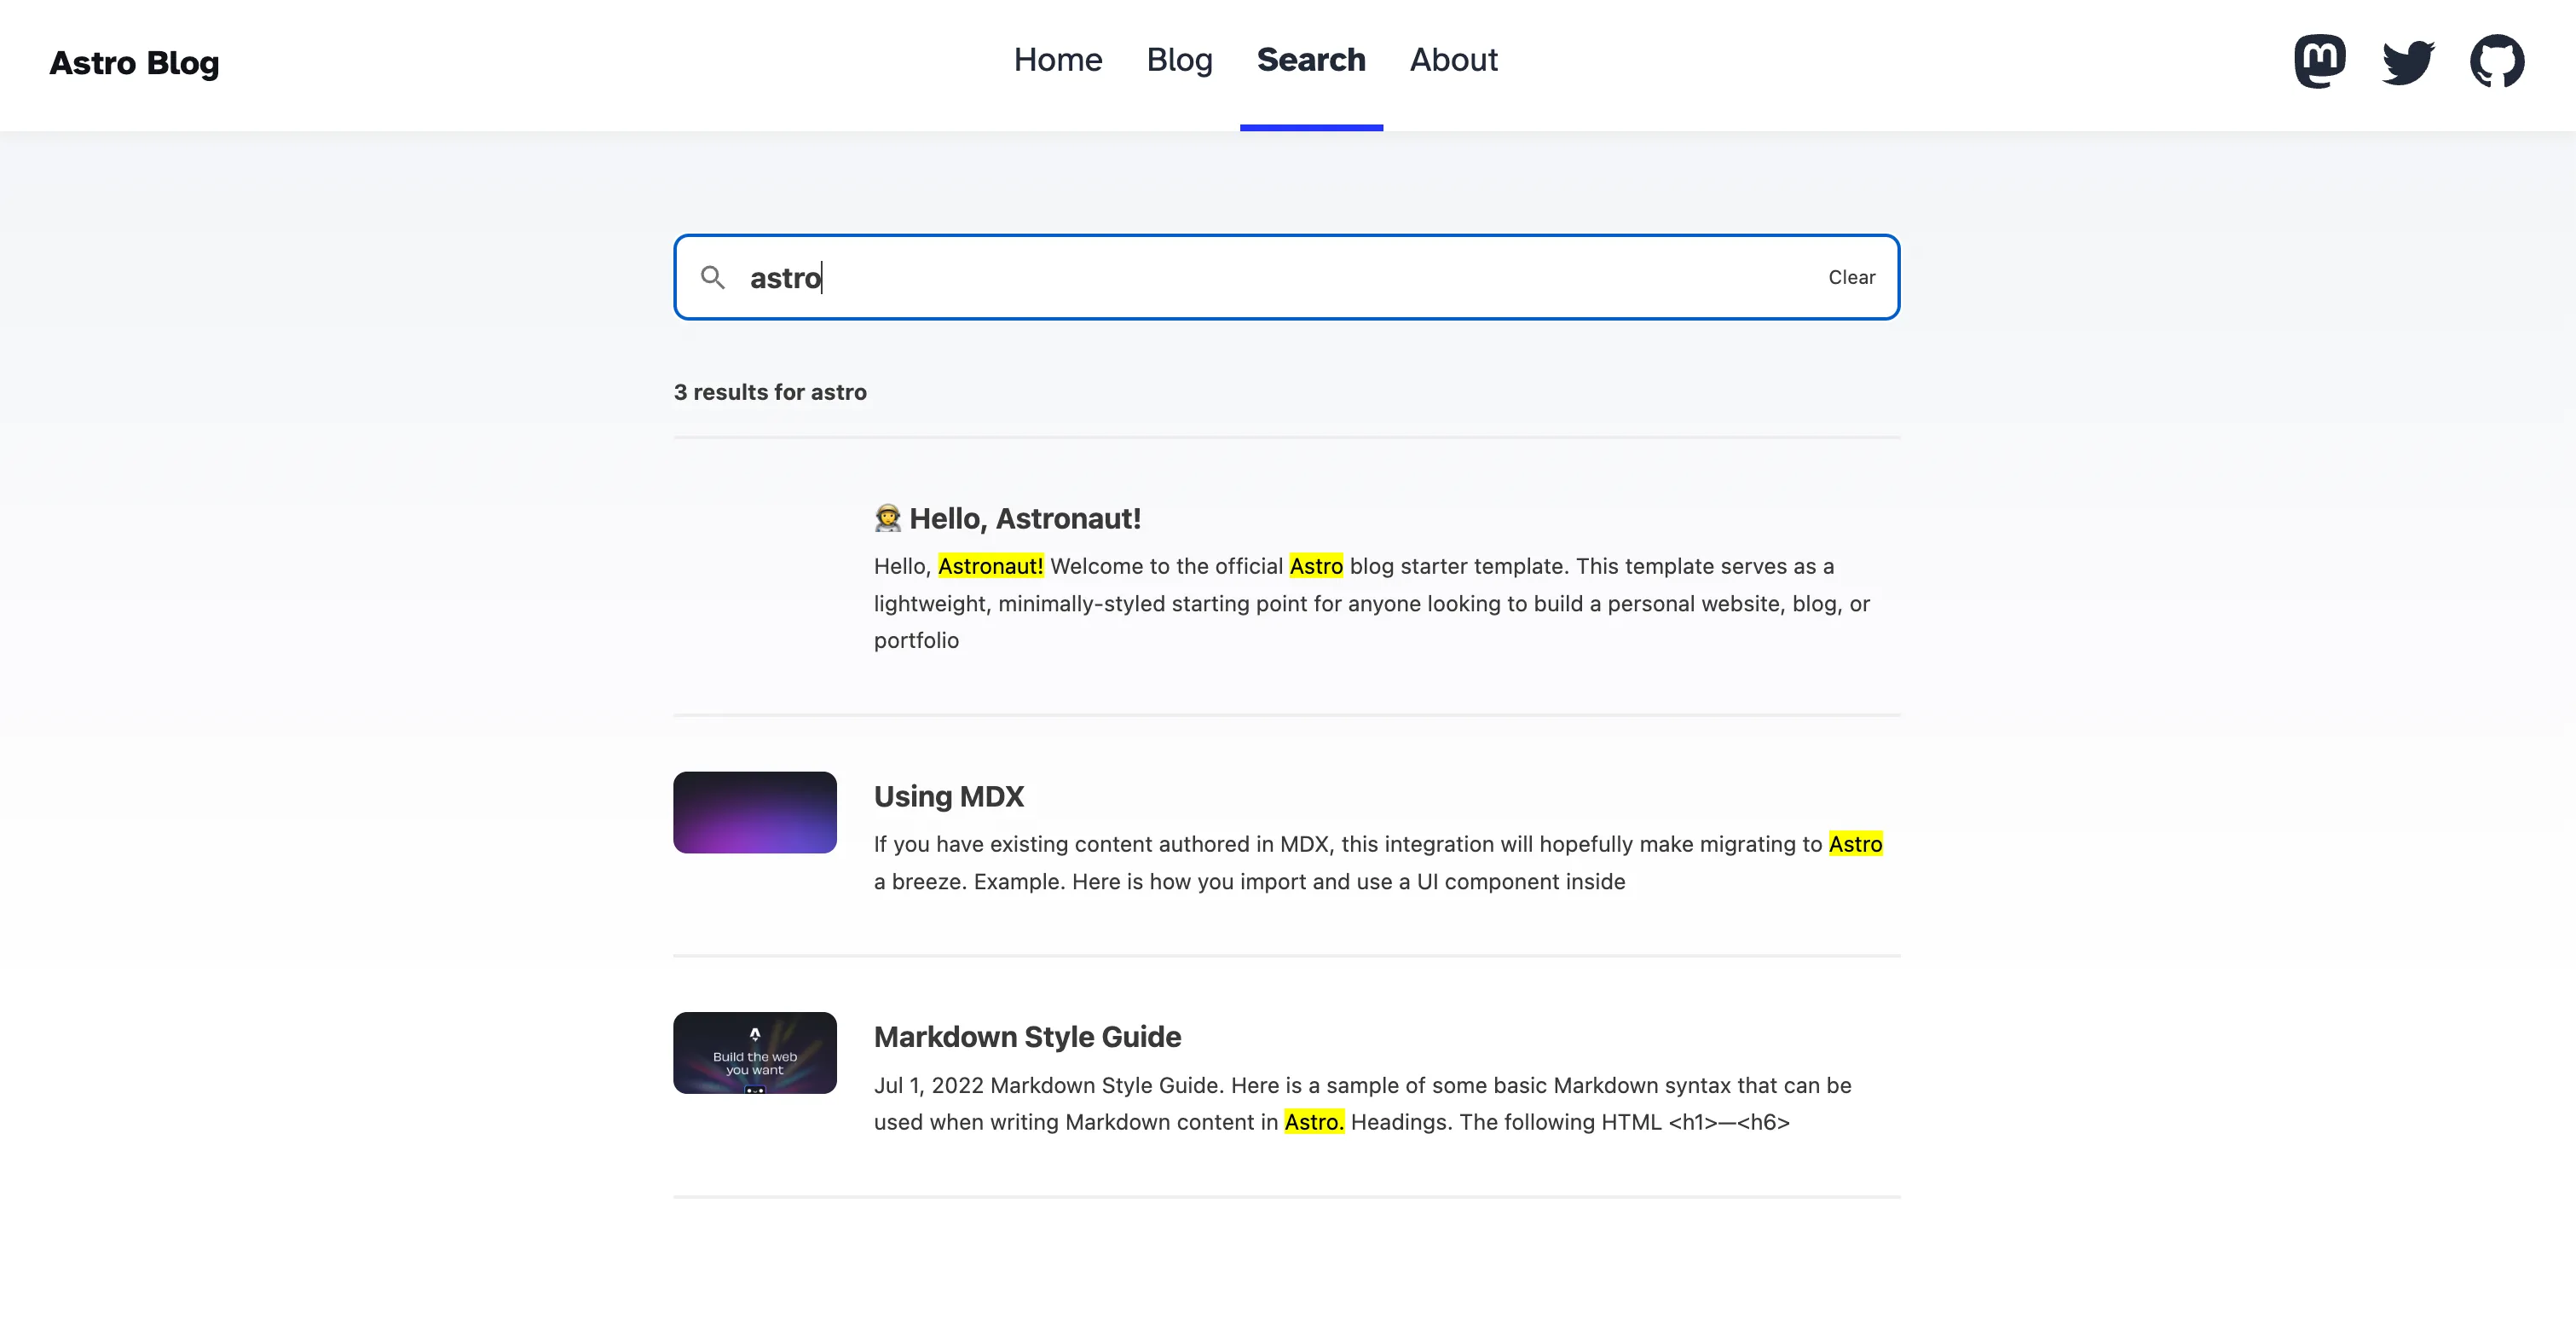
I also wanted images to show up for each post in the search bar, as each of my articles have a thumbnail attached to them.
First, set showImages: true
<SearchComponent id="search" className="pagefind-ui" uiOptions={{ showImages: true }} />By default, pagefind will try to find images on the page, but I found this pretty unreliable. Instead you can manually specify where the images are with an attribute on an img tag.
<img src="my img" alt="my alt" data-pagefind-meta="image[src], image_alt[alt]">This also does work on astro’s <Image> component.
If you’re usingoptimized images, you might notice that the images on the search results break after optimizing them. Don’t worry! They’ll work once deployed, and if you want to verify locally that it still works you can do so with astro preview, however they break while using astro dev due to the search index being built on the optimized image paths which change.
With these changes we get a search with images
Styling
Pagefind has a section about customizing the styles of the search bar. However, again I’ll cover what I did here.
By default it adds these css variables.
:root {
--pagefind-ui-scale: 1;
--pagefind-ui-primary: #034ad8;
--pagefind-ui-text: #393939;
--pagefind-ui-background: #ffffff;
--pagefind-ui-border: #eeeeee;
--pagefind-ui-tag: #eeeeee;
--pagefind-ui-border-width: 2px;
--pagefind-ui-border-radius: 8px;
--pagefind-ui-image-border-radius: 8px;
--pagefind-ui-image-box-ratio: 3 / 2;
--pagefind-ui-font: sans-serif;
}I’m using DaisyUI and I wanted my colors to automatically switch when my theme does, so I ended up settling on the following styling.
:root {
--pagefind-ui-scale: 1;
--pagefind-ui-primary: theme('colors.base-content');
--pagefind-ui-text: theme('colors.base-content');
--pagefind-ui-background: theme('colors.base-100');
--pagefind-ui-border: theme('colors.gray.300');
--pagefind-ui-tag: theme('colors.neutral');
--pagefind-ui-border-width: 2px;
--pagefind-ui-border-radius: 8px;
--pagefind-ui-image-border-radius: 8px;
--pagefind-ui-image-box-ratio: 3 / 2;
--pagefind-ui-font: sans-serif;
}
/* don't show the thumbnail on mobile */
@media (max-width: 480px) {
.pagefind-ui__result-thumb {
display: none;
}
}Then just import your styles into your search component, making sure it’s after the default css import.
import "@pagefind/default-ui/css/ui.css";
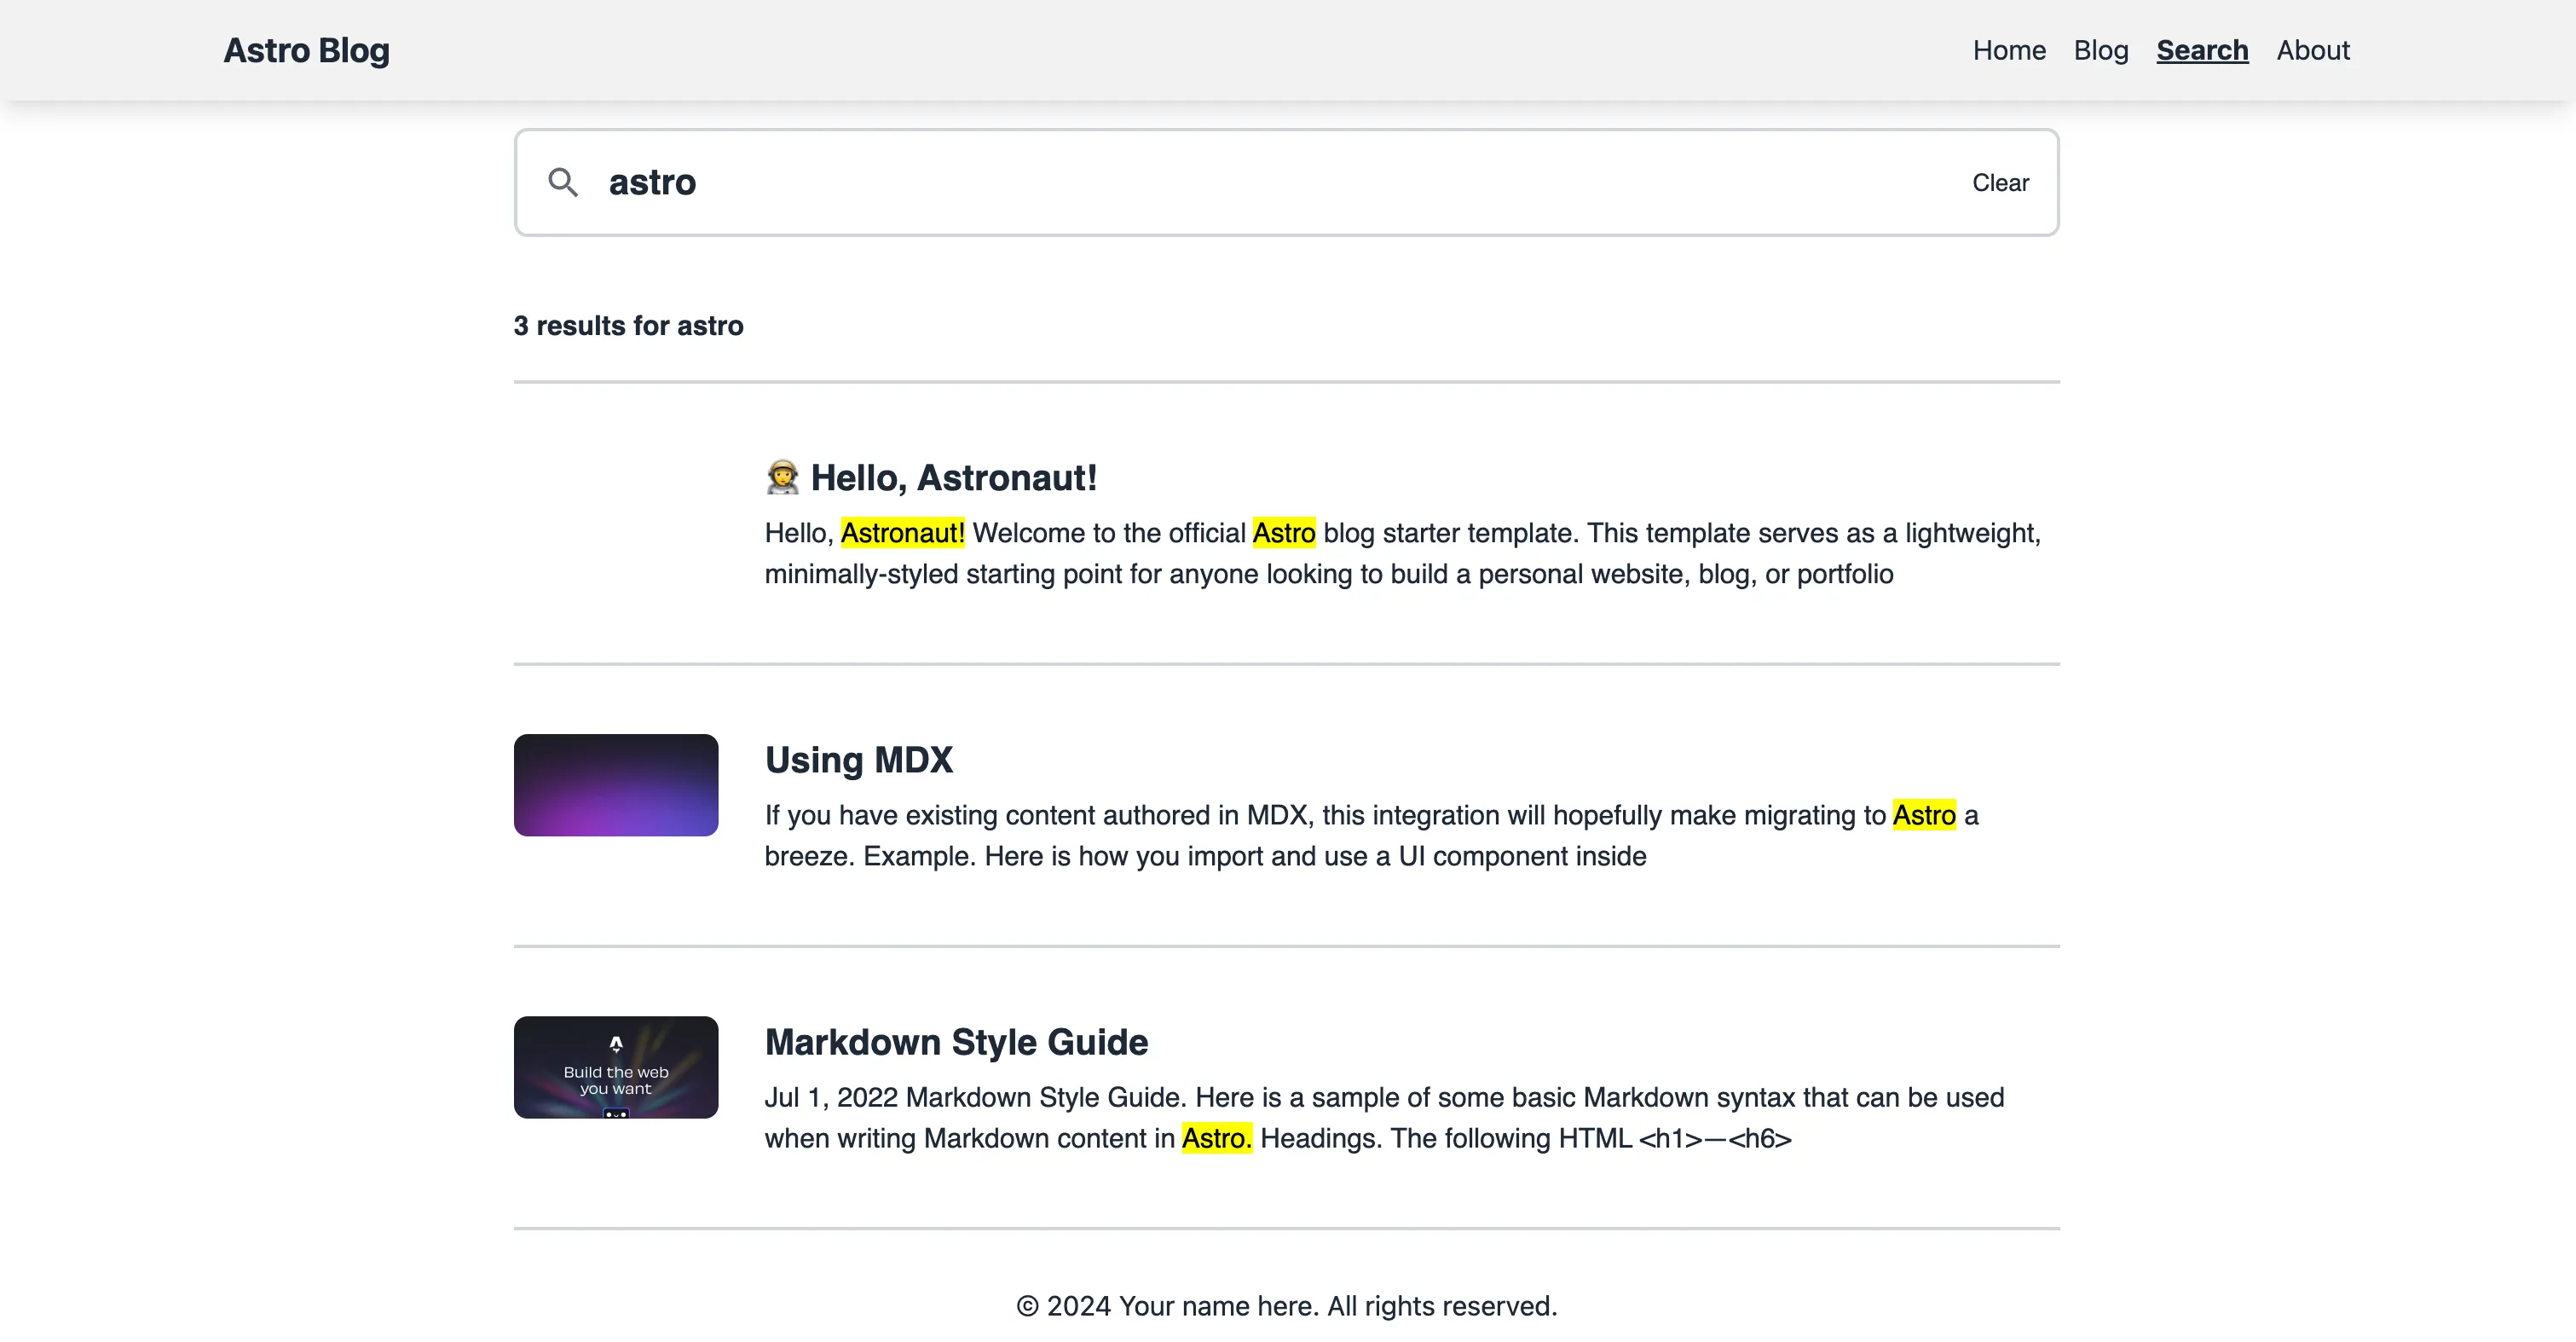
import "./AstroSearch.css";After these changes (and some restyling of the default astro blog template), we end up with
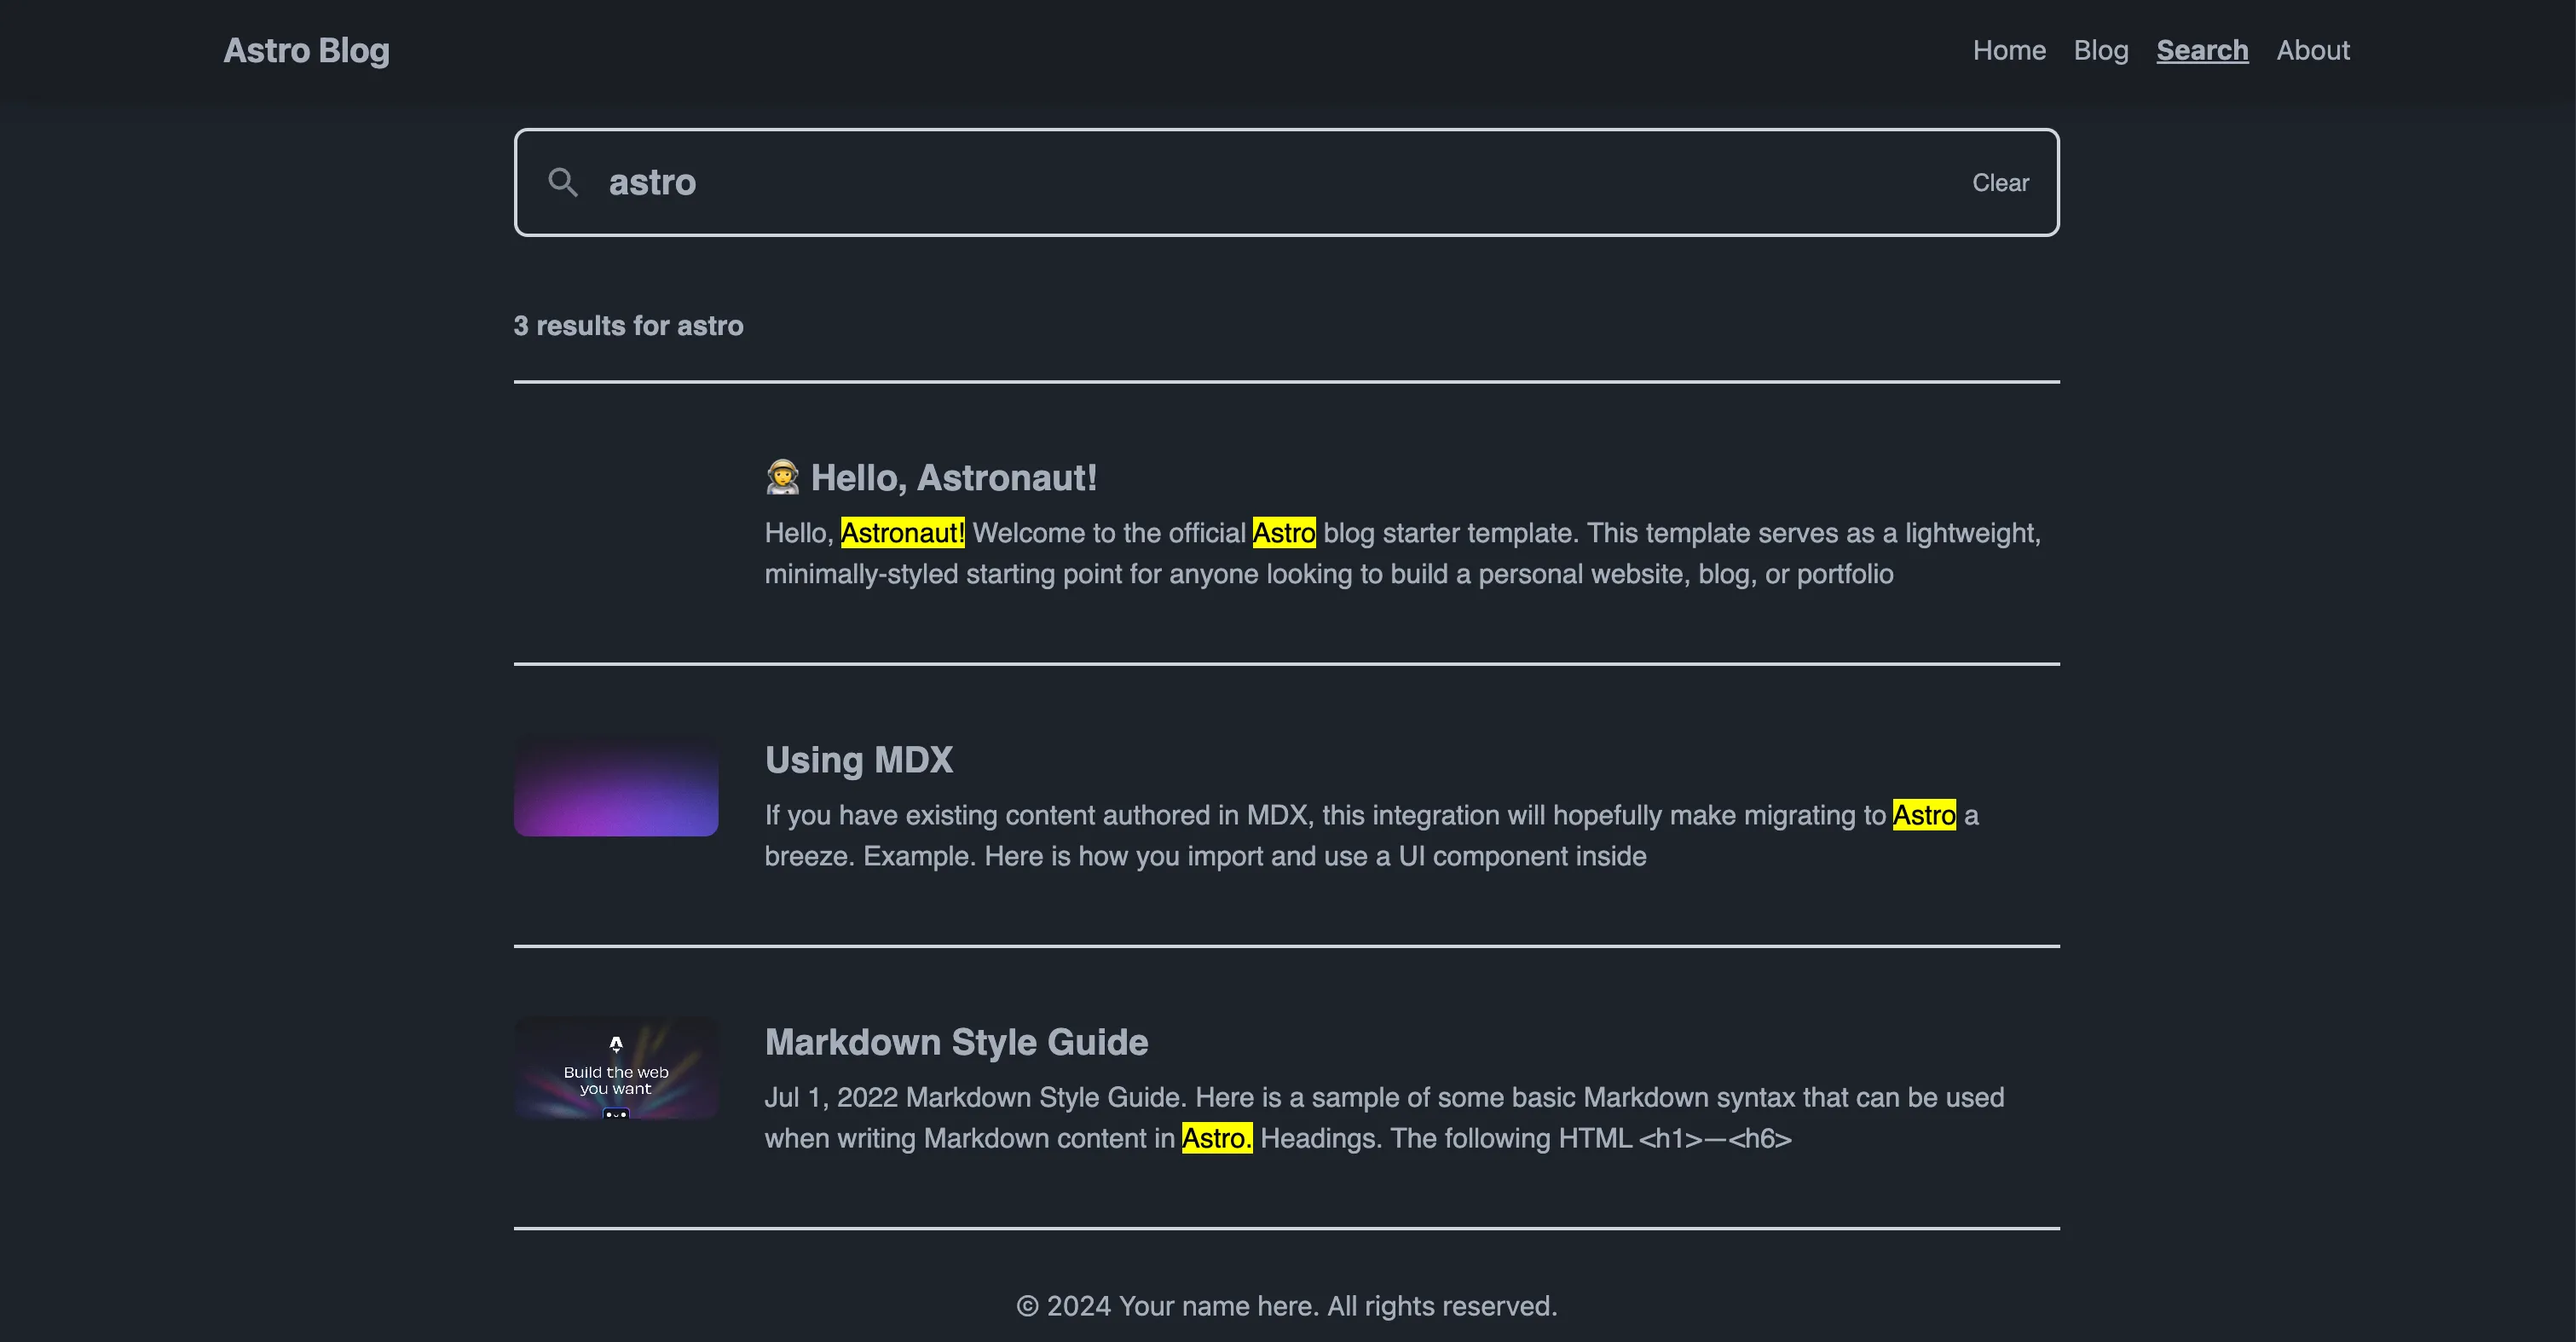
And it automatically also works on other DaisyUI themes, dark shown.
And that’s all you have to do to get search working on your site! If you’re looking to customize the search bar more definitely make sure to take a look at the pagefind docs yourself as it’s fairly configurable.
Here’s a template website with optimized images and a search bar.